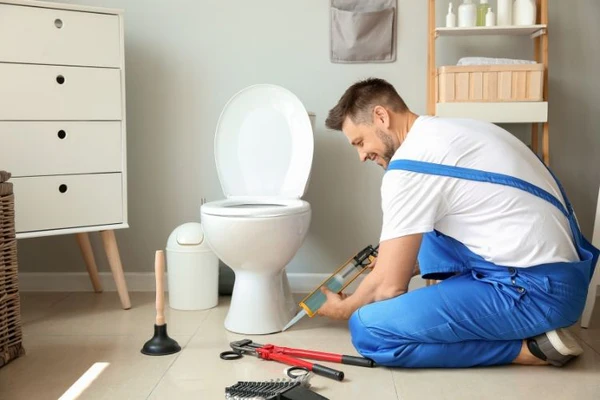
Replacing and installing a new toilet is a practical update that enhances the look of your bathroom and can help reduce water consumption. While it may seem daunting, installing a toilet is manageable with the proper guidance. Here’s a step-by-step guide to help you install a toilet smoothly and effectively.
Click here to learn more at https://www.plumbersingapore.org/toilet-bowl-installation/.
Tools and Materials Needed
Before you begin, ensure you have all the necessary tools and materials:
- Work gloves
- Level
- Mini hacksaw
- Putty knife
- Safety glasses
- New toilet
- Bolts, washers, nuts
- Toilet shims
- Toilet wax ring
- Measuring tape
Pre-Installation: Measuring and Preparation
Measuring for a New Toilet:
- Measure the Rough-in Size: Measure from the back wall (not the baseboard) to the center of the flange bolts on the floor. This is typically 12 inches, though it can vary.
- Check the Space: Measure the distance to any nearby water supply lines and sidewalls to ensure the new toilet will fit. Consider the clearance for shelves or cabinets above the bathroom, measuring the tank height if necessary.
Choosing the Right Toilet:
- Opt for an elongated bowl for comfort if space allows or a round bowl for tighter spaces. Ensure the toilet seat fits the bowl shape.
Removing the Old Toilet
- Turn Off Water: Shut off the water supply line to the toilet.
- Drain the Tank: Flush the toilet to drain water from the tank and bowl. Use a sponge to remove any remaining water.
- Disconnect Water Lines: Use a wrench to disconnect the water supply line.
- Unscrew and Remove: Pop off the toilet bolt caps, unscrew the nuts, and carefully lift the toilet away from the wax ring.
Installing the New Toilet
- Prepare the Flange: Clean the old wax from the flange and check it for damage. Repair if necessary.
- Install New Bolts: Slide new closet bolts into the slots on the flange. Secure them with washers and nuts if provided.
- Set the Wax Ring: Warm the new wax ring under hot water to soften it. Place it on the flange or the bottom of the toilet outlet.
- Position the Toilet: Carefully lower the toilet over the bolts and onto the wax ring. Press down firmly to set it in place without rocking.
- Secure the Toilet: Add washers and nuts to the bolts. Tighten them alternately to avoid uneven pressure, which can crack the porcelain. Trim any excess bolt with the hacksaw.
- Attach the Tank: If separate, place the tank on the bowl, ensuring a proper seal with the gasket. Tighten the bolts that connect the tank to the bowl, being cautious not to tighten over.
- Reconnect Water Supply: Attach the water supply line and turn on the water. Check for leaks around the base and the supply line.
- Install the Toilet Seat: Attach the seat using the provided bolts and a screwdriver.
Final Checks
- Test for Leaks: Once everything is assembled, flush the toilet several times to ensure there are no leaks.
- Adjust as Necessary: If the toilet rocks, use shims under the base to stabilize it, then seal around the base with caulk if desired, leaving a gap at the back for water escape in case of a leak.
Installing a new toilet can significantly improve the functionality and aesthetics of your bathroom. You can achieve a professional-quality result with careful measurement, preparation, and attention to detail during installation. If you encounter complex plumbing issues during the process, consulting with a professional plumber like https://www.plumbersingapore.org/ is advisable to ensure everything is up to standard and secure.


